Homemade Pizza
Making pizza is one of our favorite weekly traditions and in honor of National Pizza Day this month, I’m sharing the recipe I use to make our pizza.
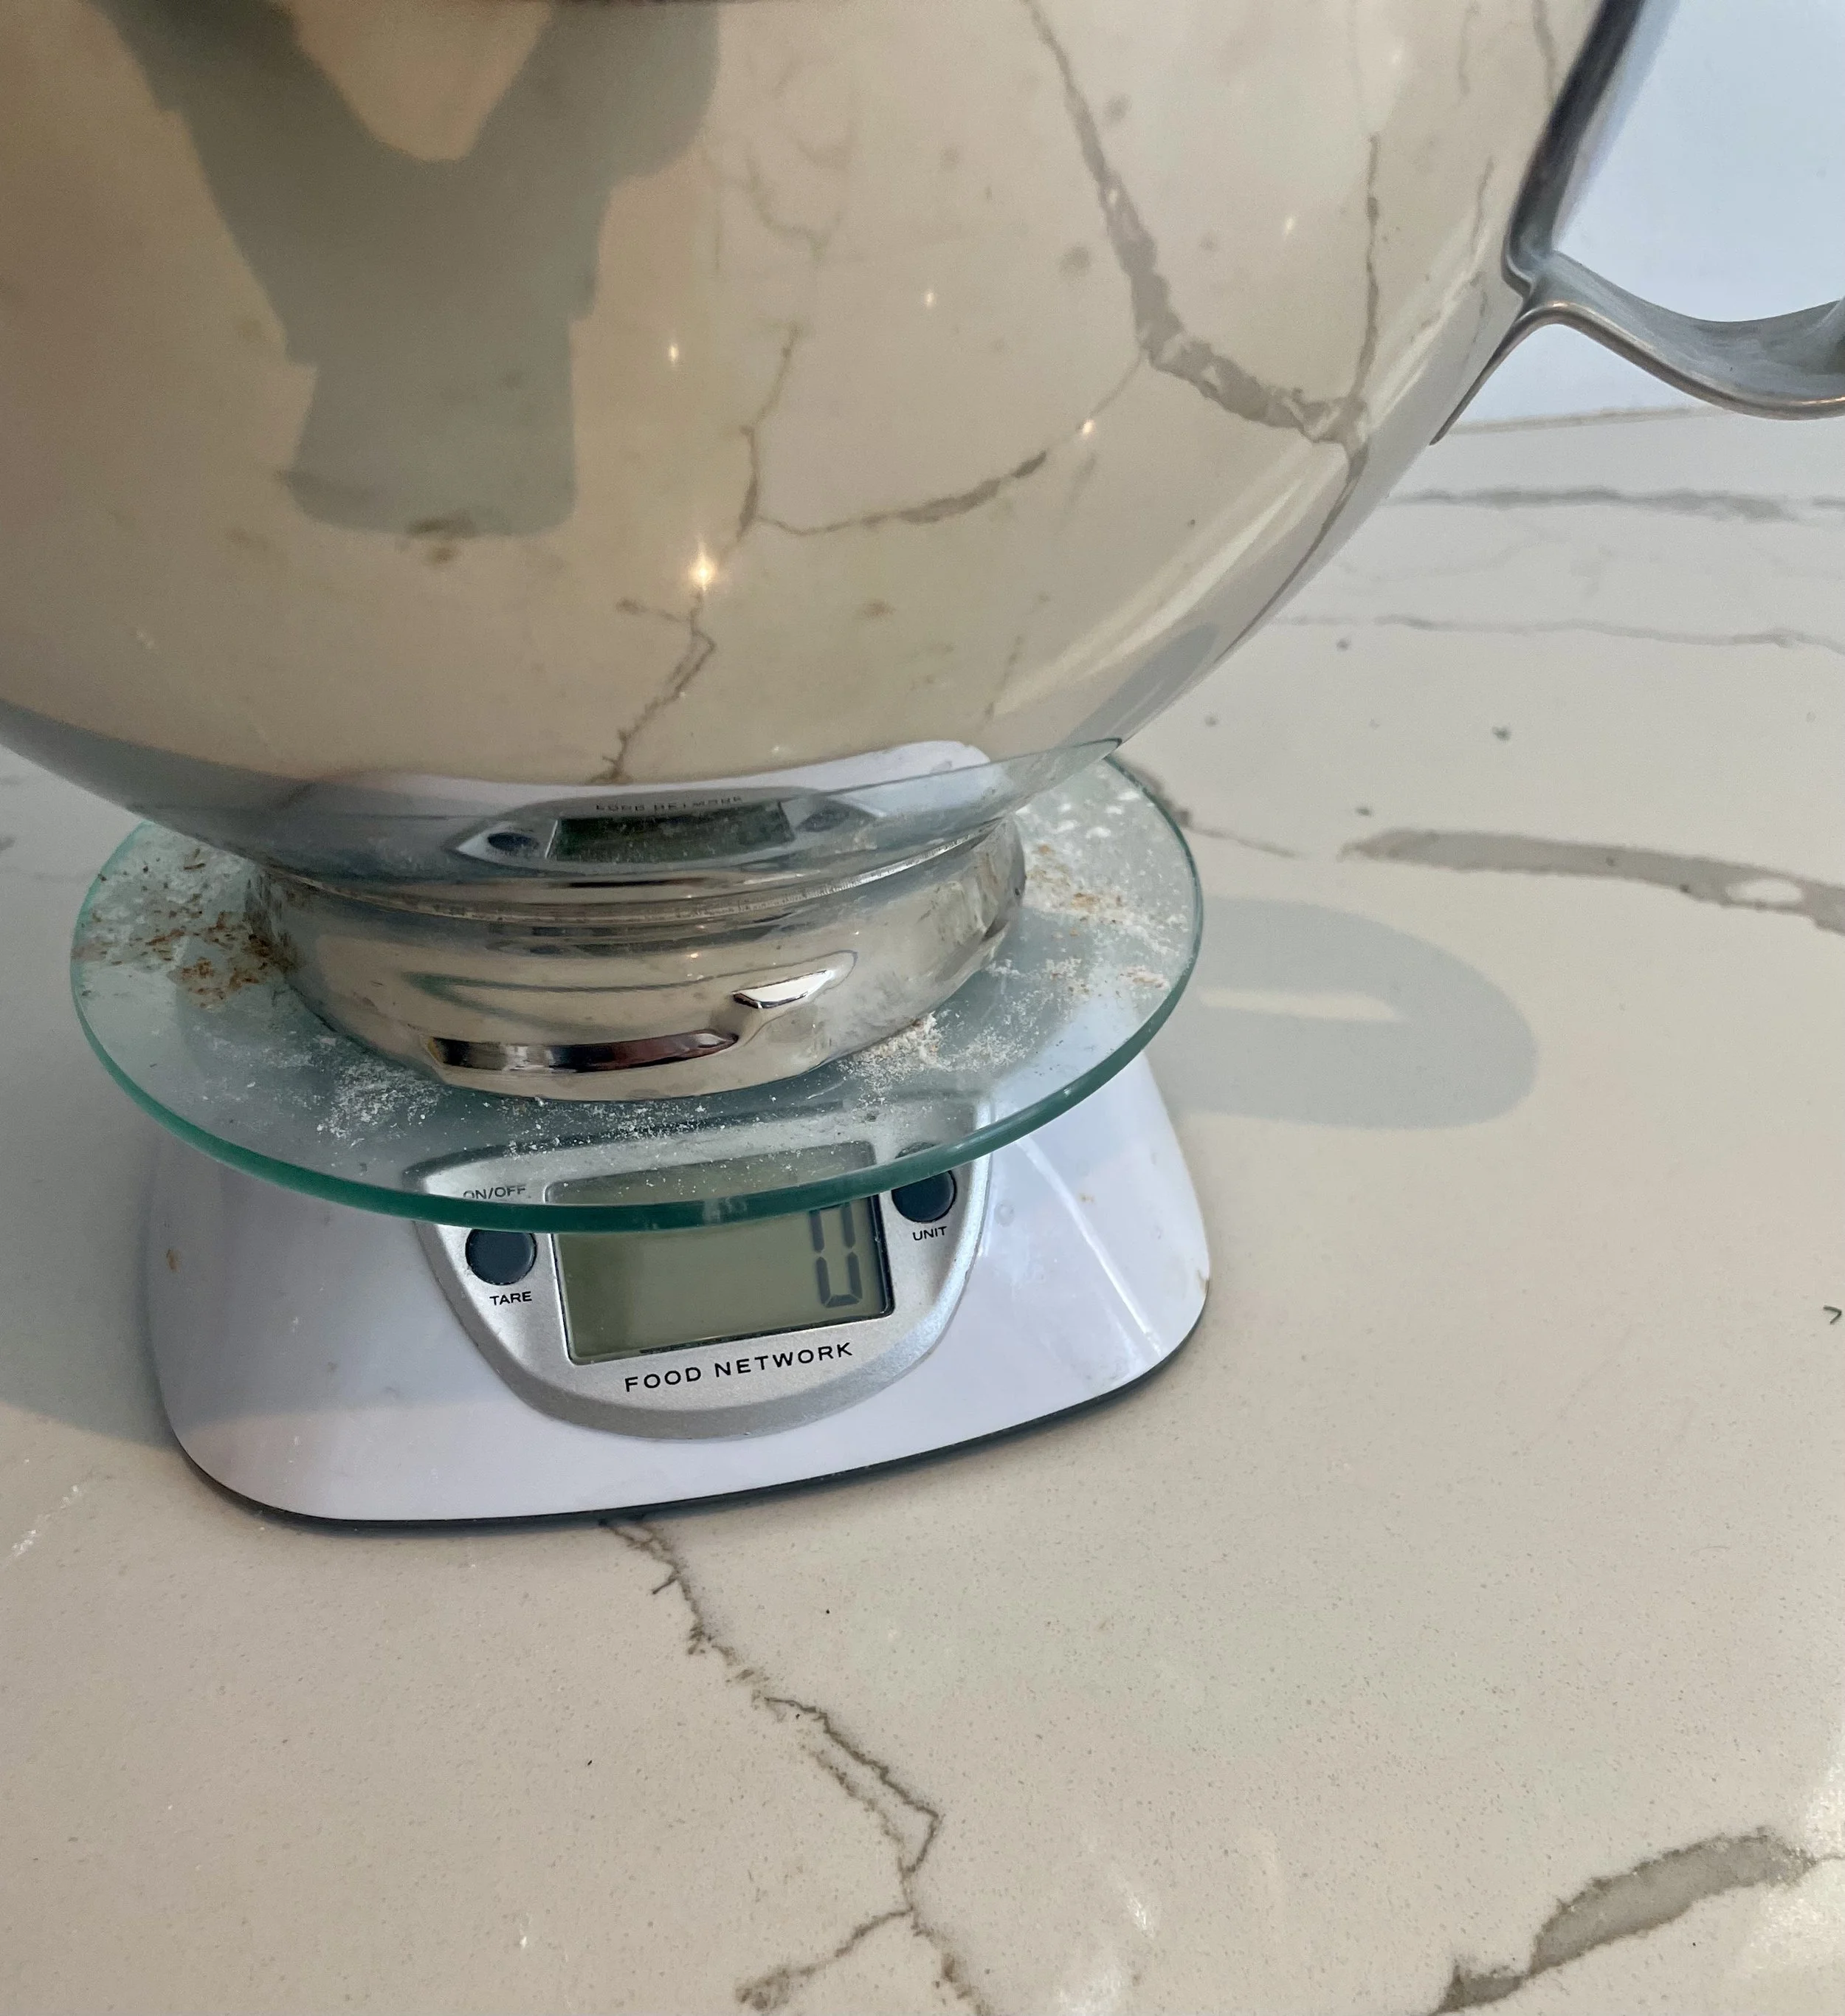
I will note, in this recipe (and most yeast/bread based recipes), I do not use standard American measurements, but weigh each ingredient using a scale for increased precision.
A gram scale doesn’t have to be expensive or fancy, this little guy does the trick.
Also, you may be thinking, why is a Dietitian posting about pizza? I thought it was unhealthy?
Well, it certainly can be, but pizza can also fit into a healthy diet. It’s all about portion size and balance! To have this pizza as part of a balanced meal: keep your portion size to 1-2 slices, watch the amount of toppings you add, serve your pizza with a side salad and/or fresh chopped vegetables with ranch dressing or hummus.
To make the pizza: first dump all of the dry ingredients into a mixing bowl and stir to combine.
Next, add the wet ingredients and mix with a dough hook or a wooden spoon/your hands until combined (about 3 minutes).
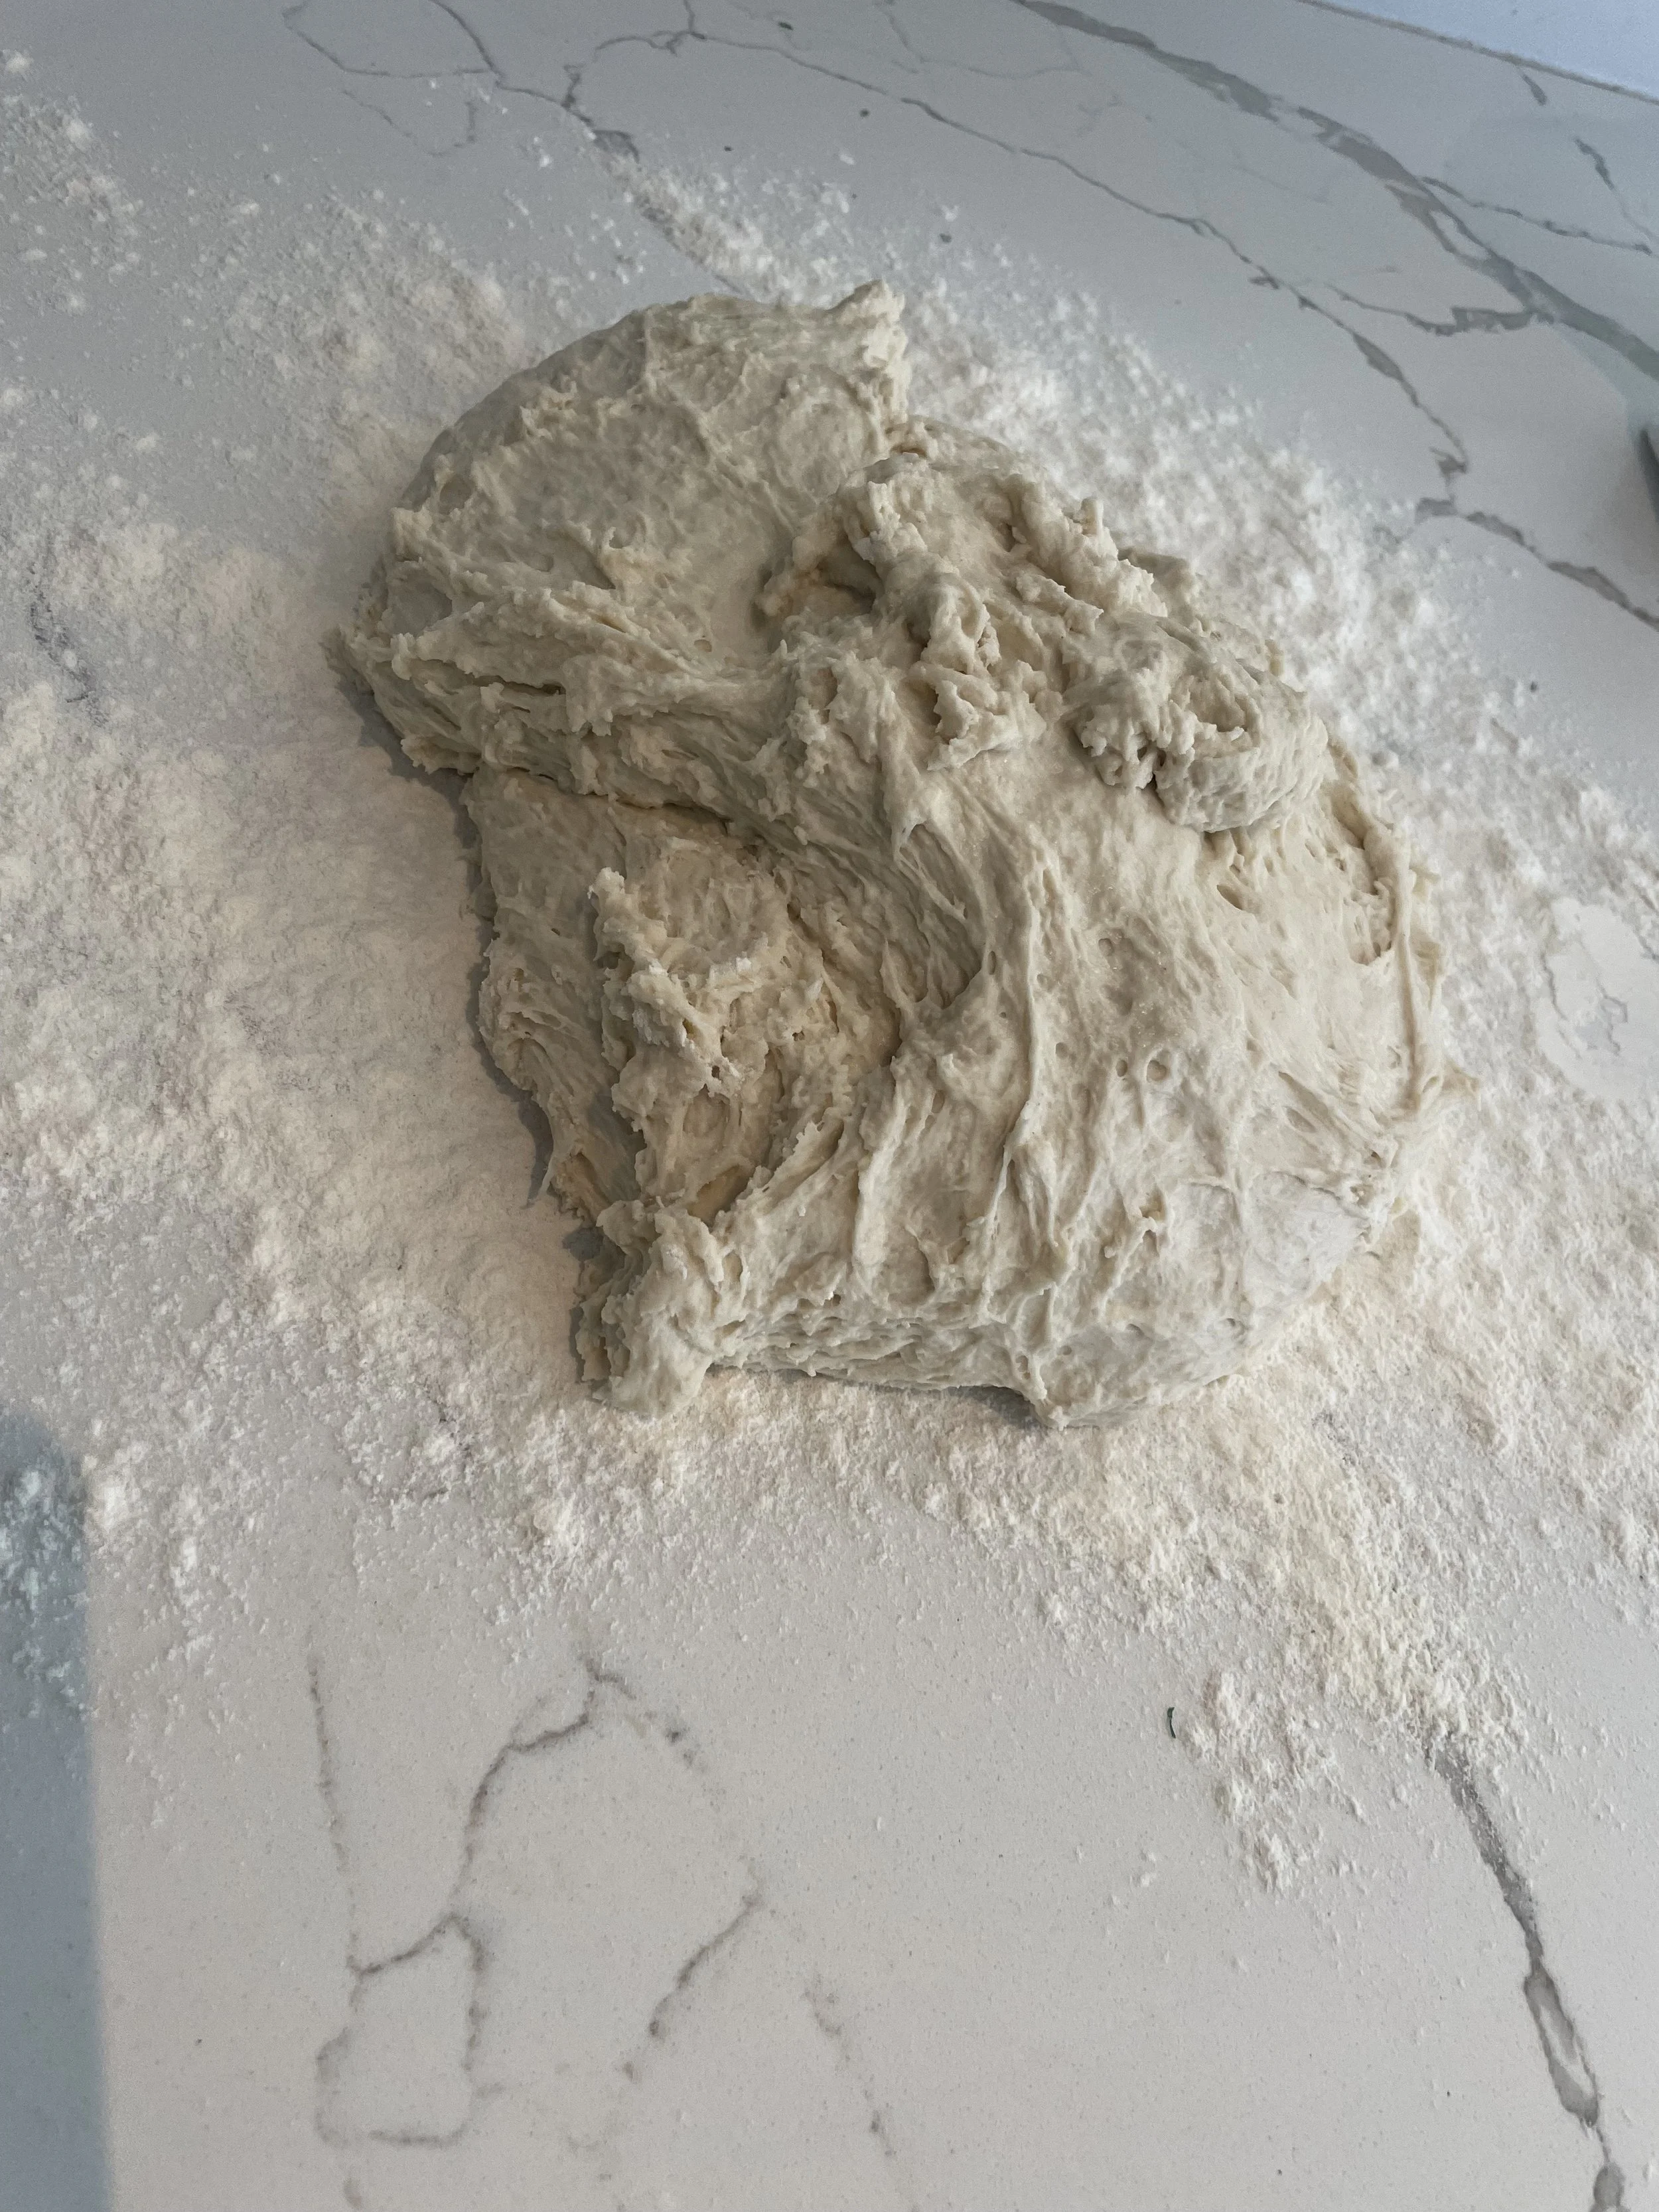
When you first mix the dough, it will be quite sticky.
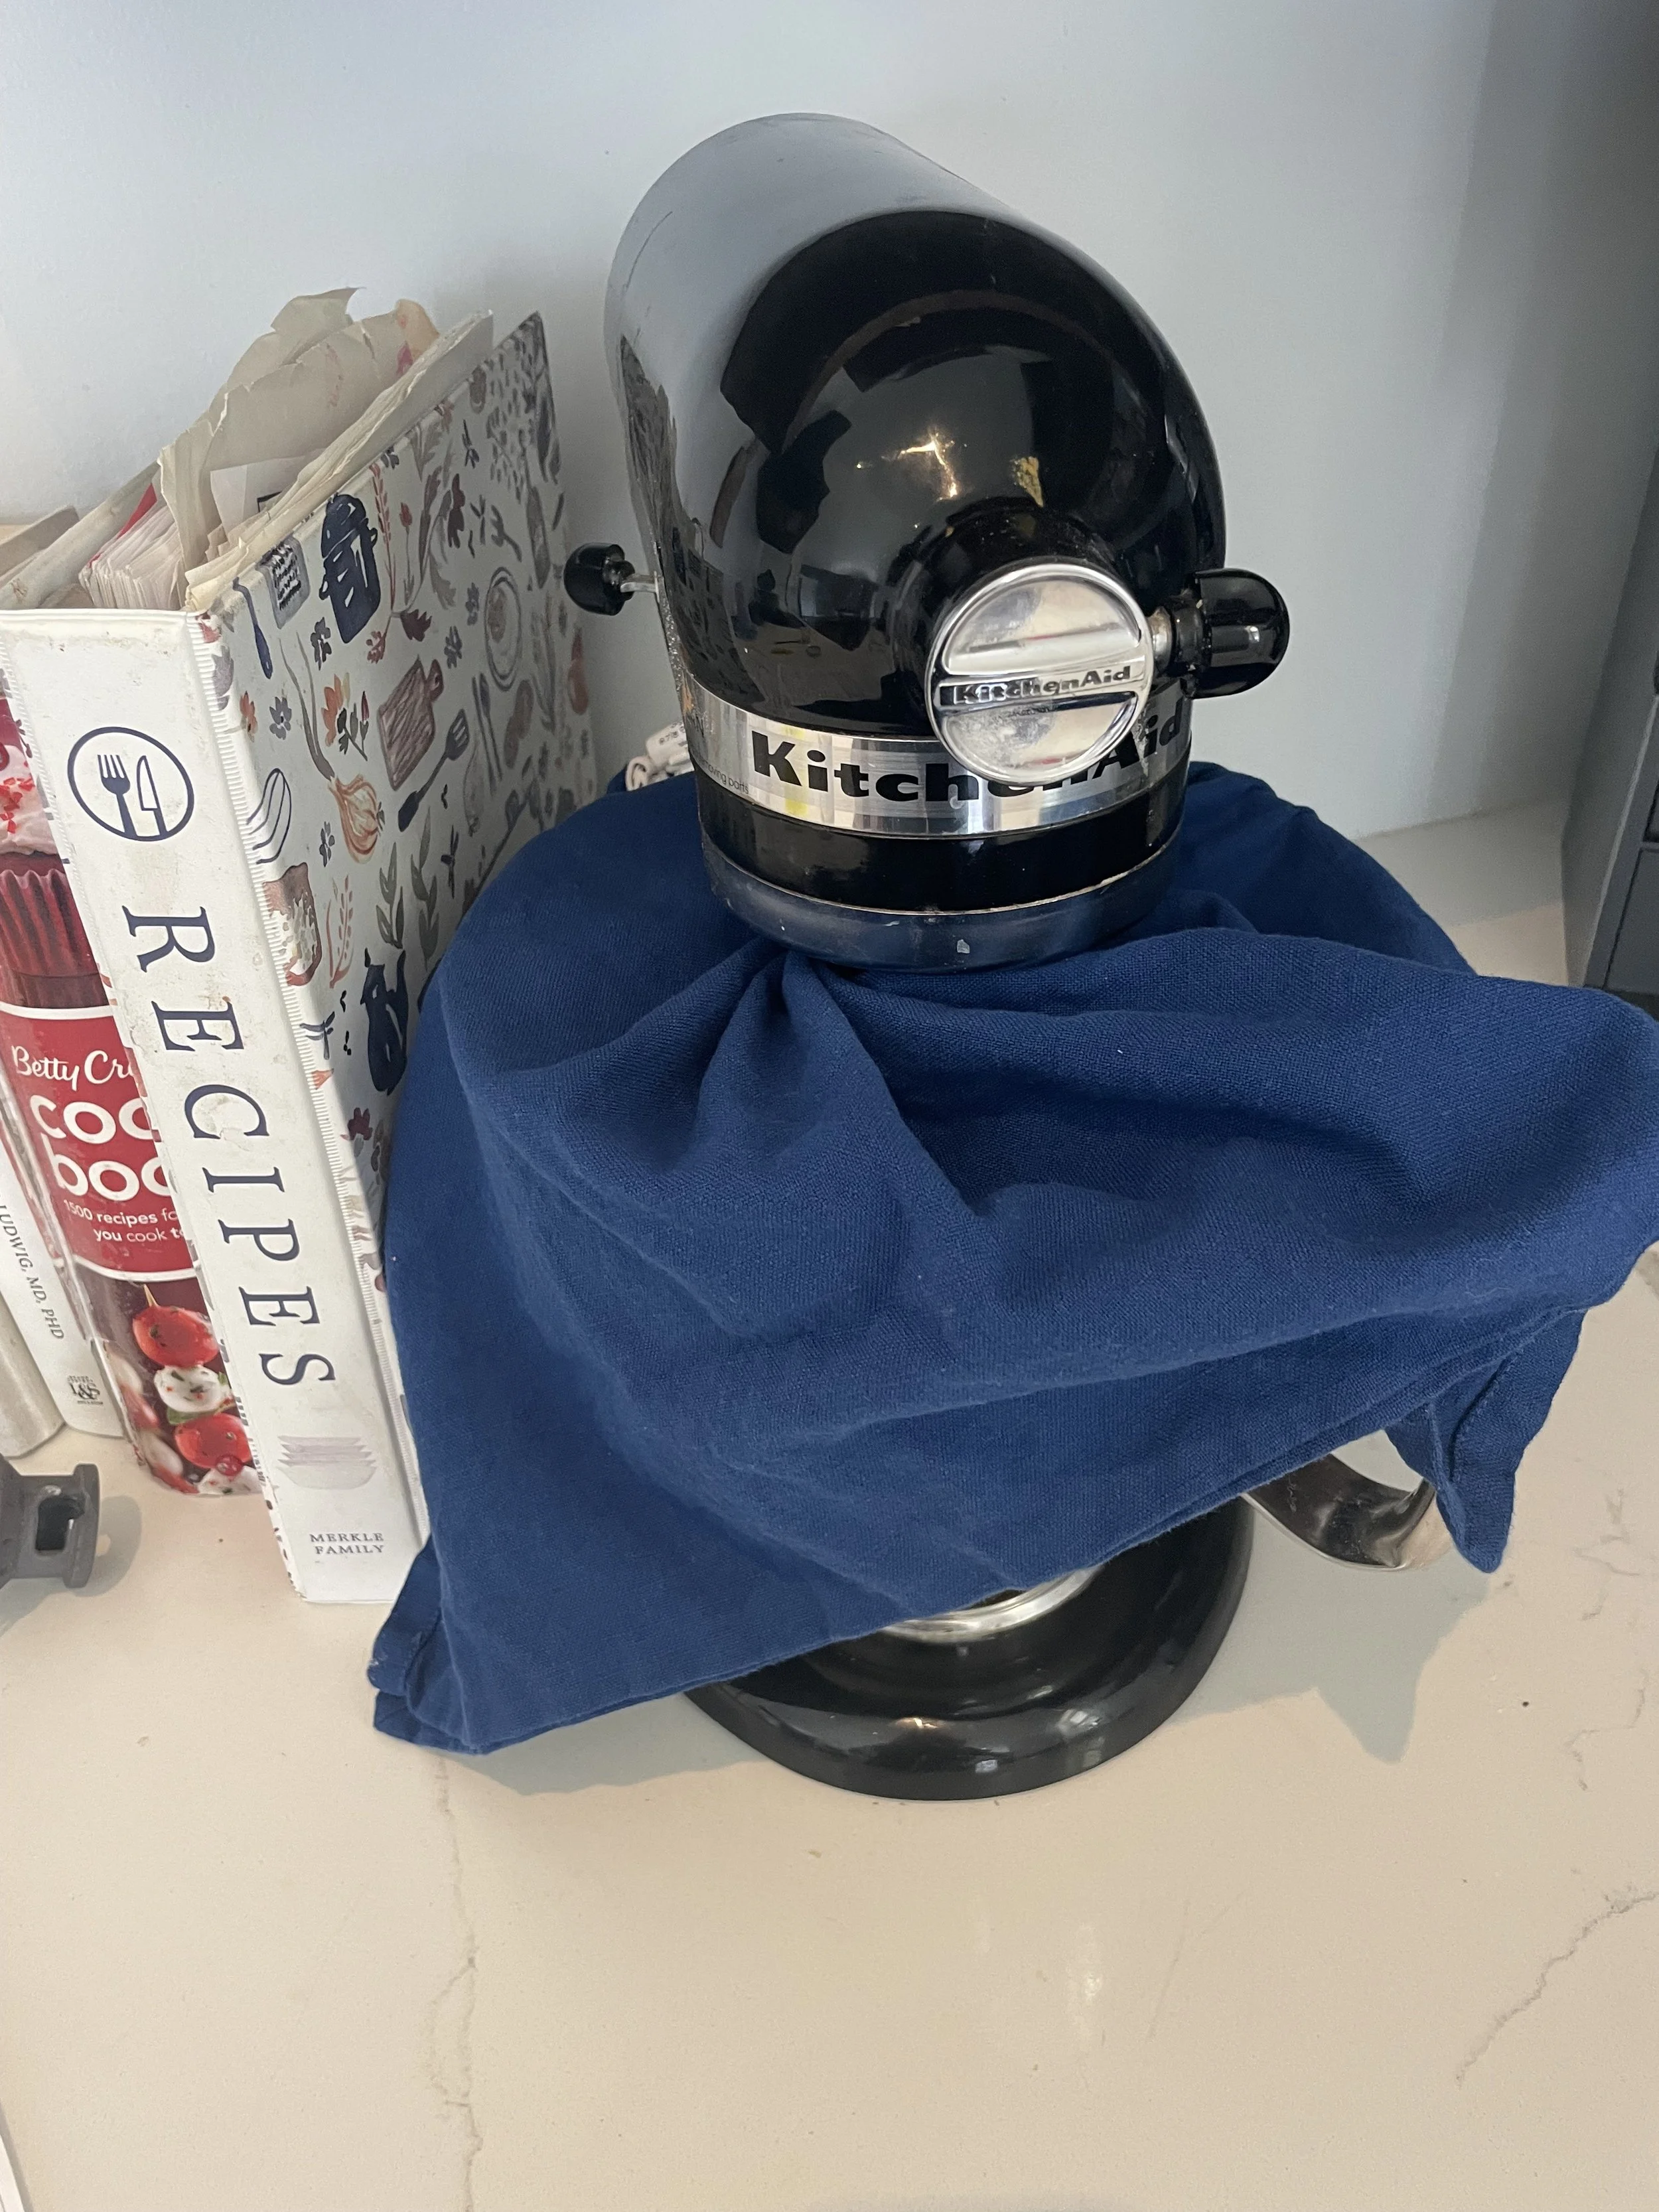
Let the dough rest for 15 minutes (this helps the flour become fully saturated with the water, the dough becomes softer and easier to work with). Cover the dough with a towel to prevent the top from drying out (as seen in the photo below).
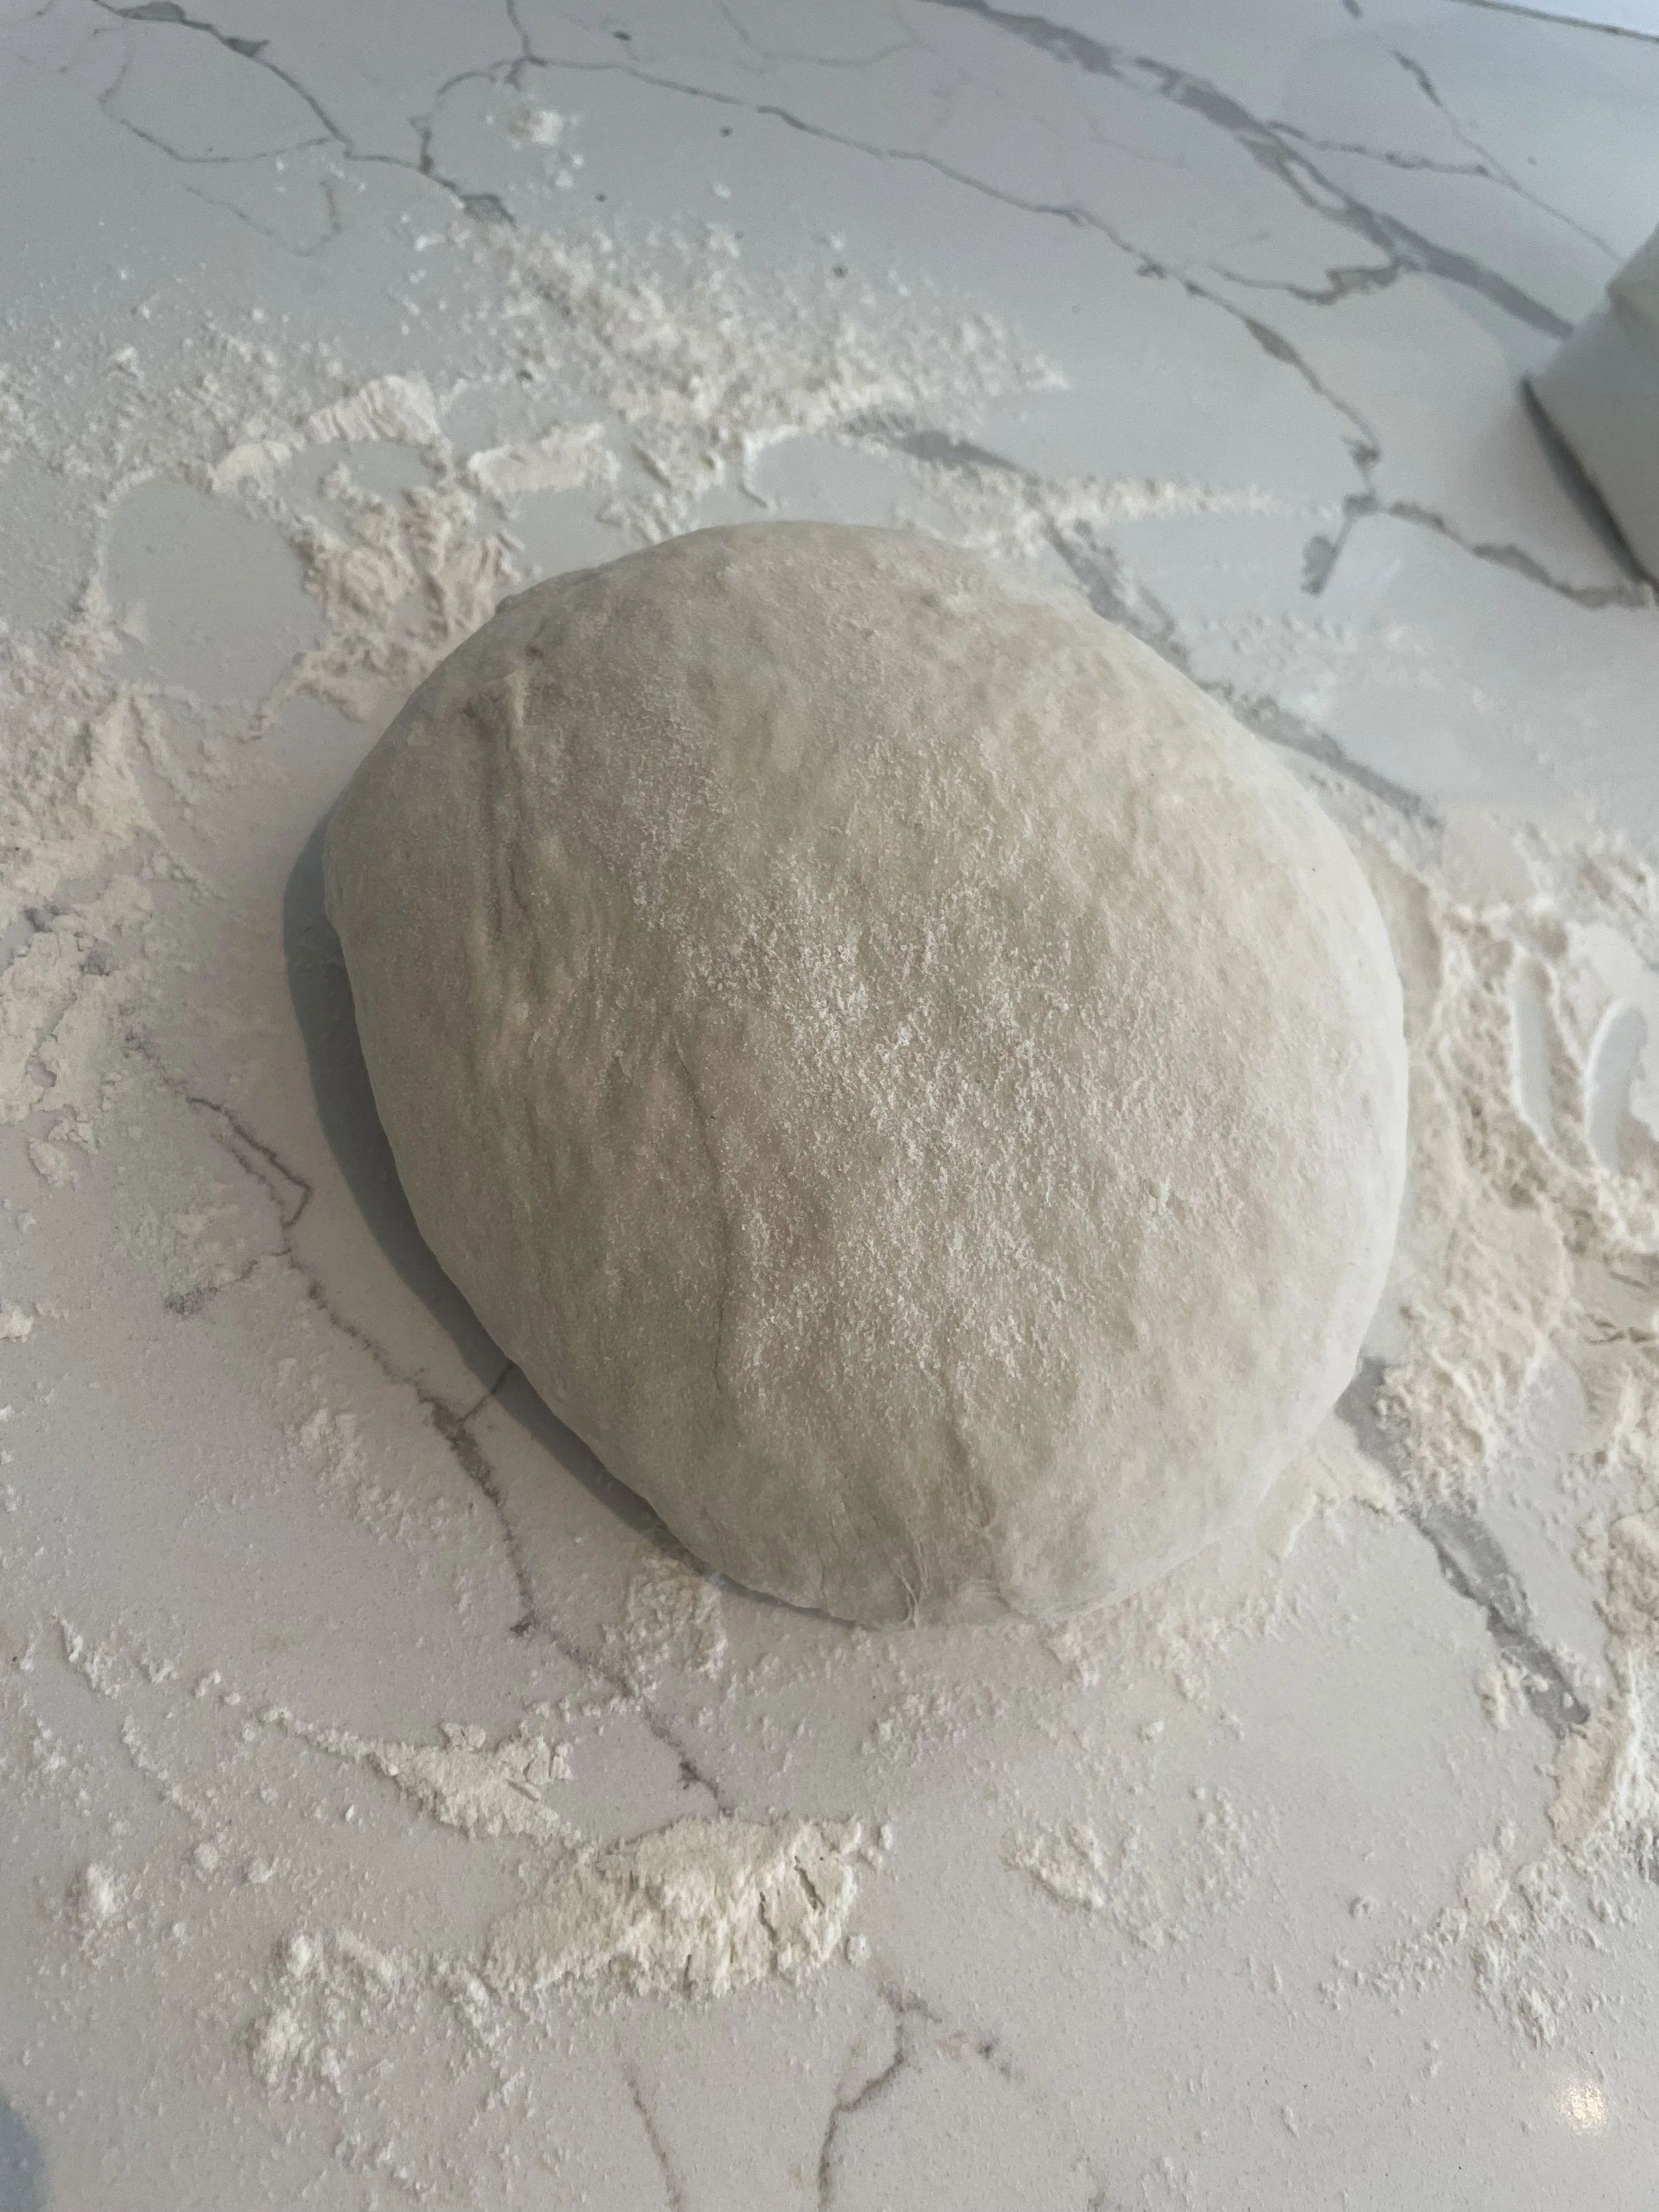
After resting, knead the dough for 3 more minutes. Even if I’m using a dough hook on the mixer, I will dump the dough on the counter and knead ~10 times until a soft ball is formed (the before and after pictures show this best).
Now it is time to let the dough rise. Put your dough in a large greased bowl and cover with a towel. Place somewhere warm and allow it to rise until double in size or about an hour.
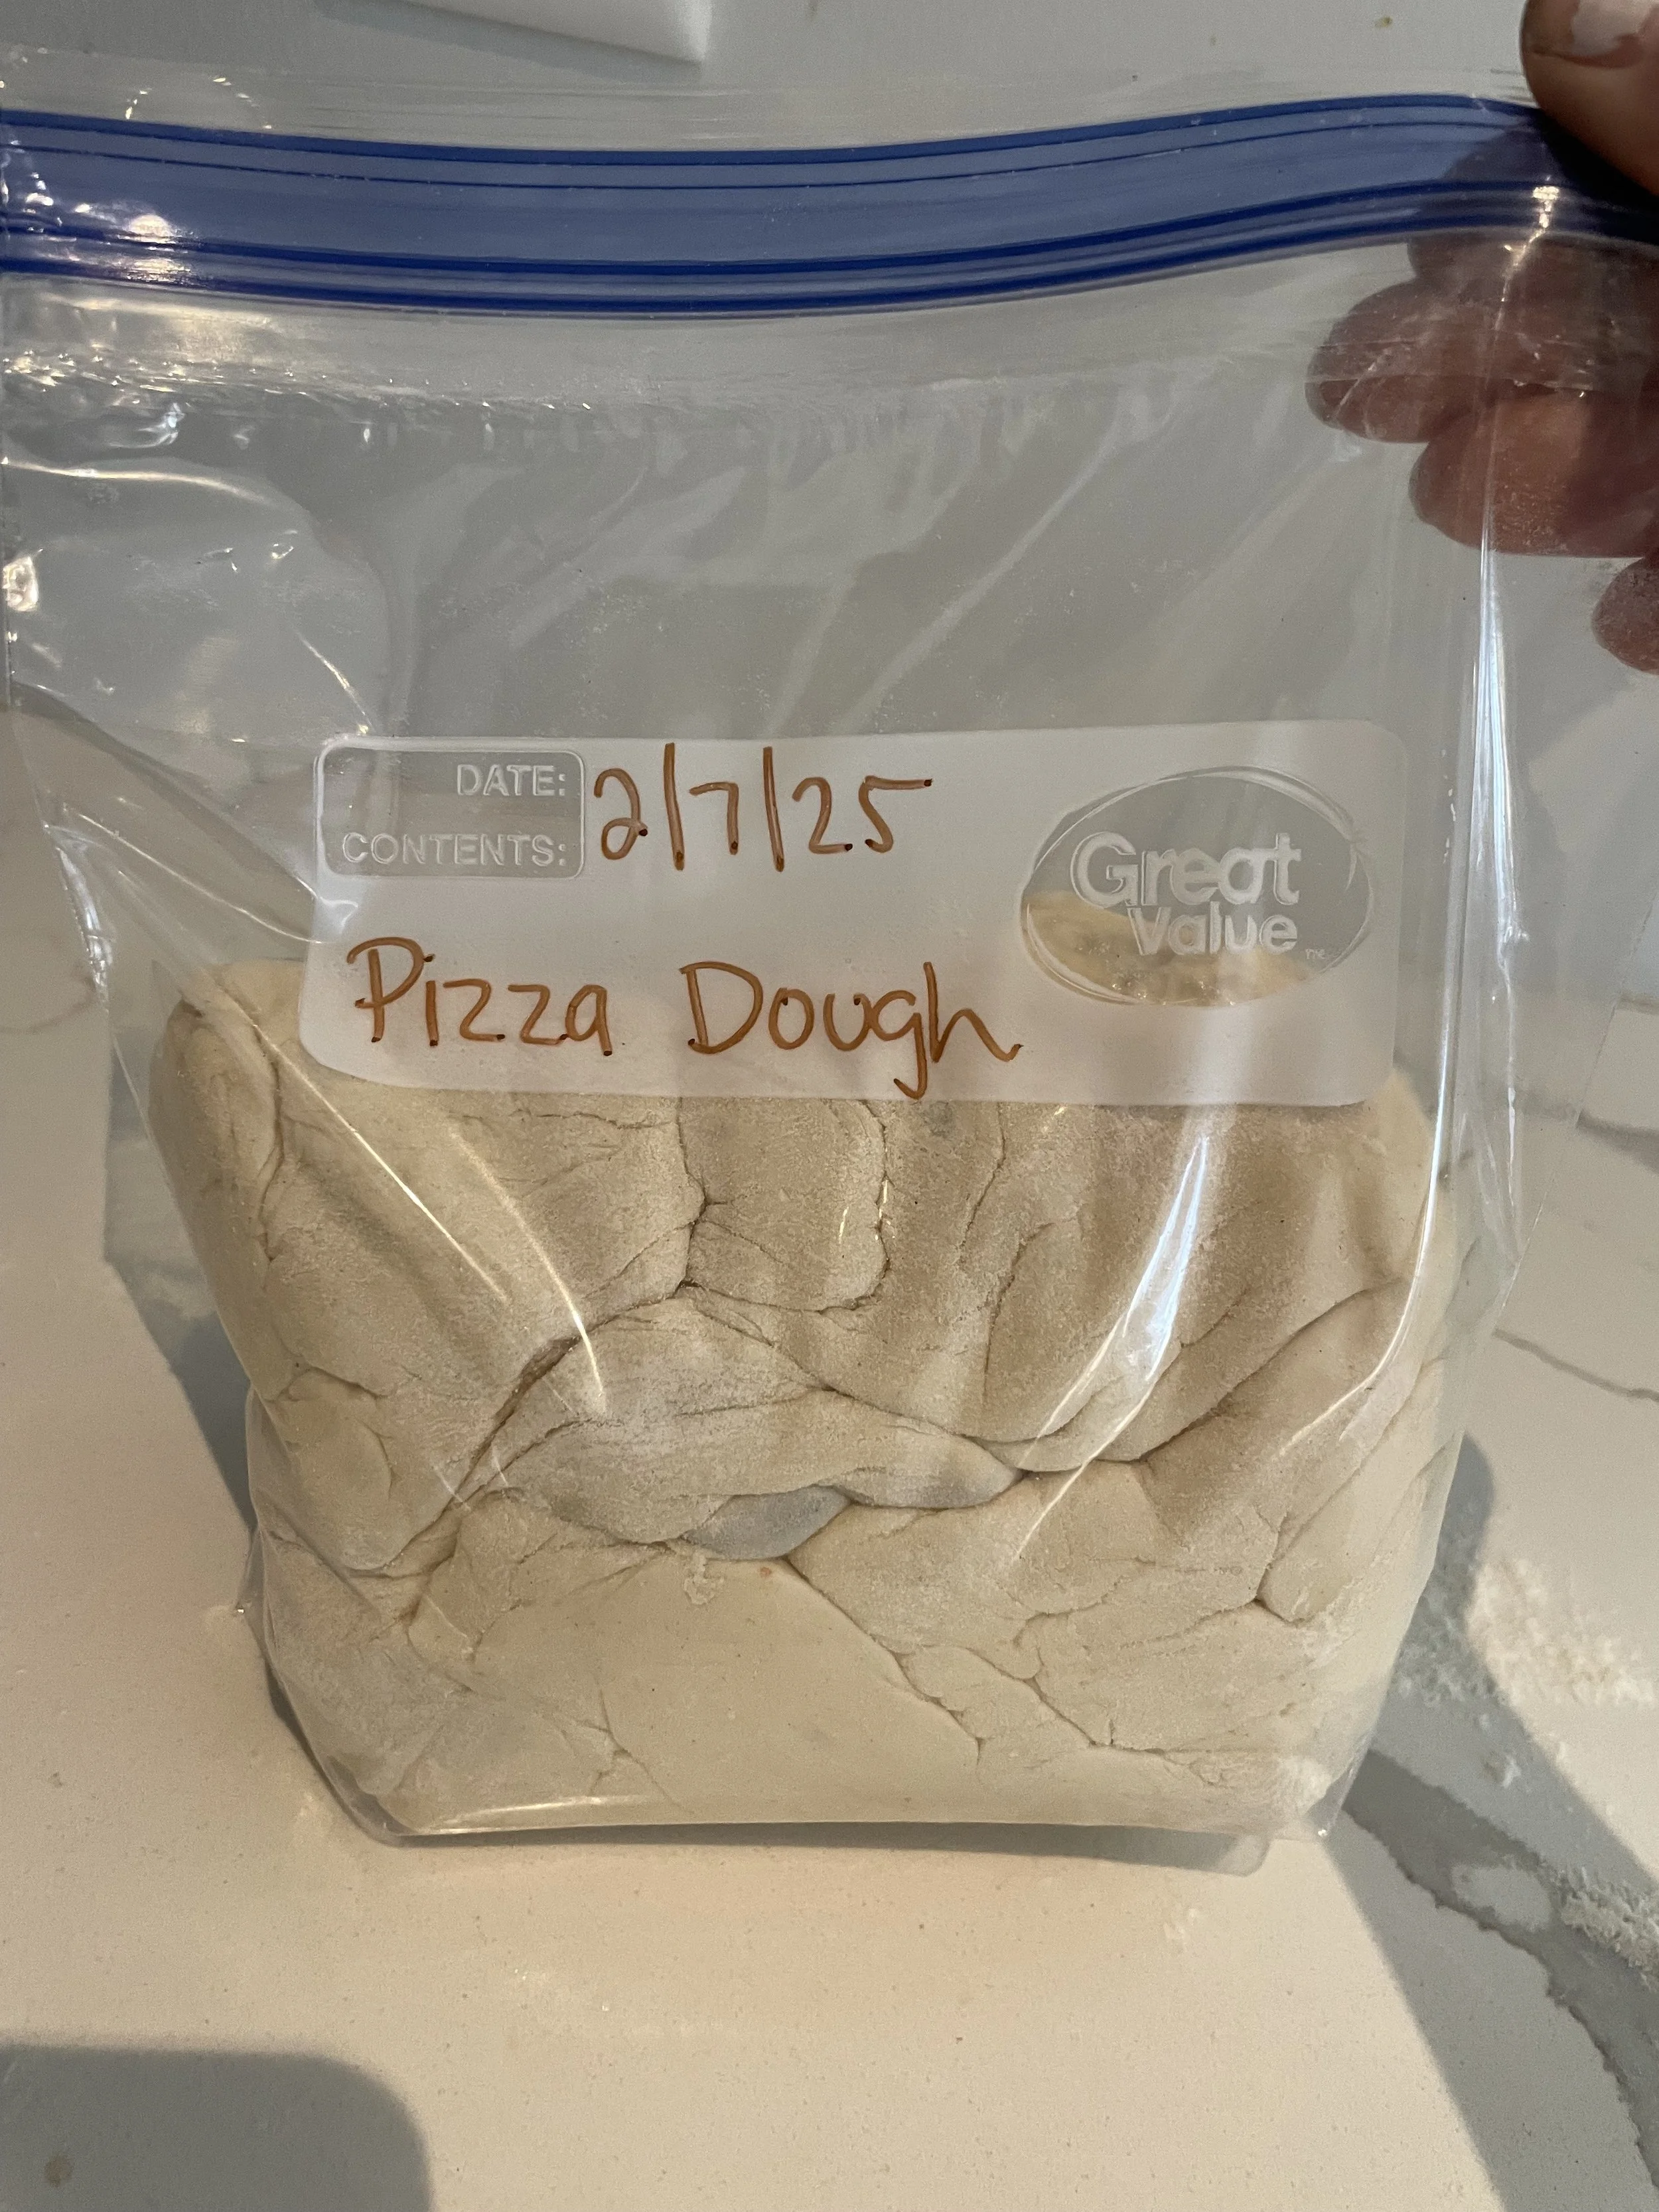
Divide: turn your dough out onto a lightly floured surface and divide into 3 similarly sized pieces. At this point, if you’re going to freeze any dough now is the time to do that.
To freeze dough: label a quart size bag with the date and contents. Place one crust worth of pizza in the bottom of the bag. Remove as much air as possible and seal the bag. Place the bag in the freezer.
To use frozen dough: remove from bag and allow to thaw at room temperature covered with a tea towel. Once thawed, proceed with steps below.
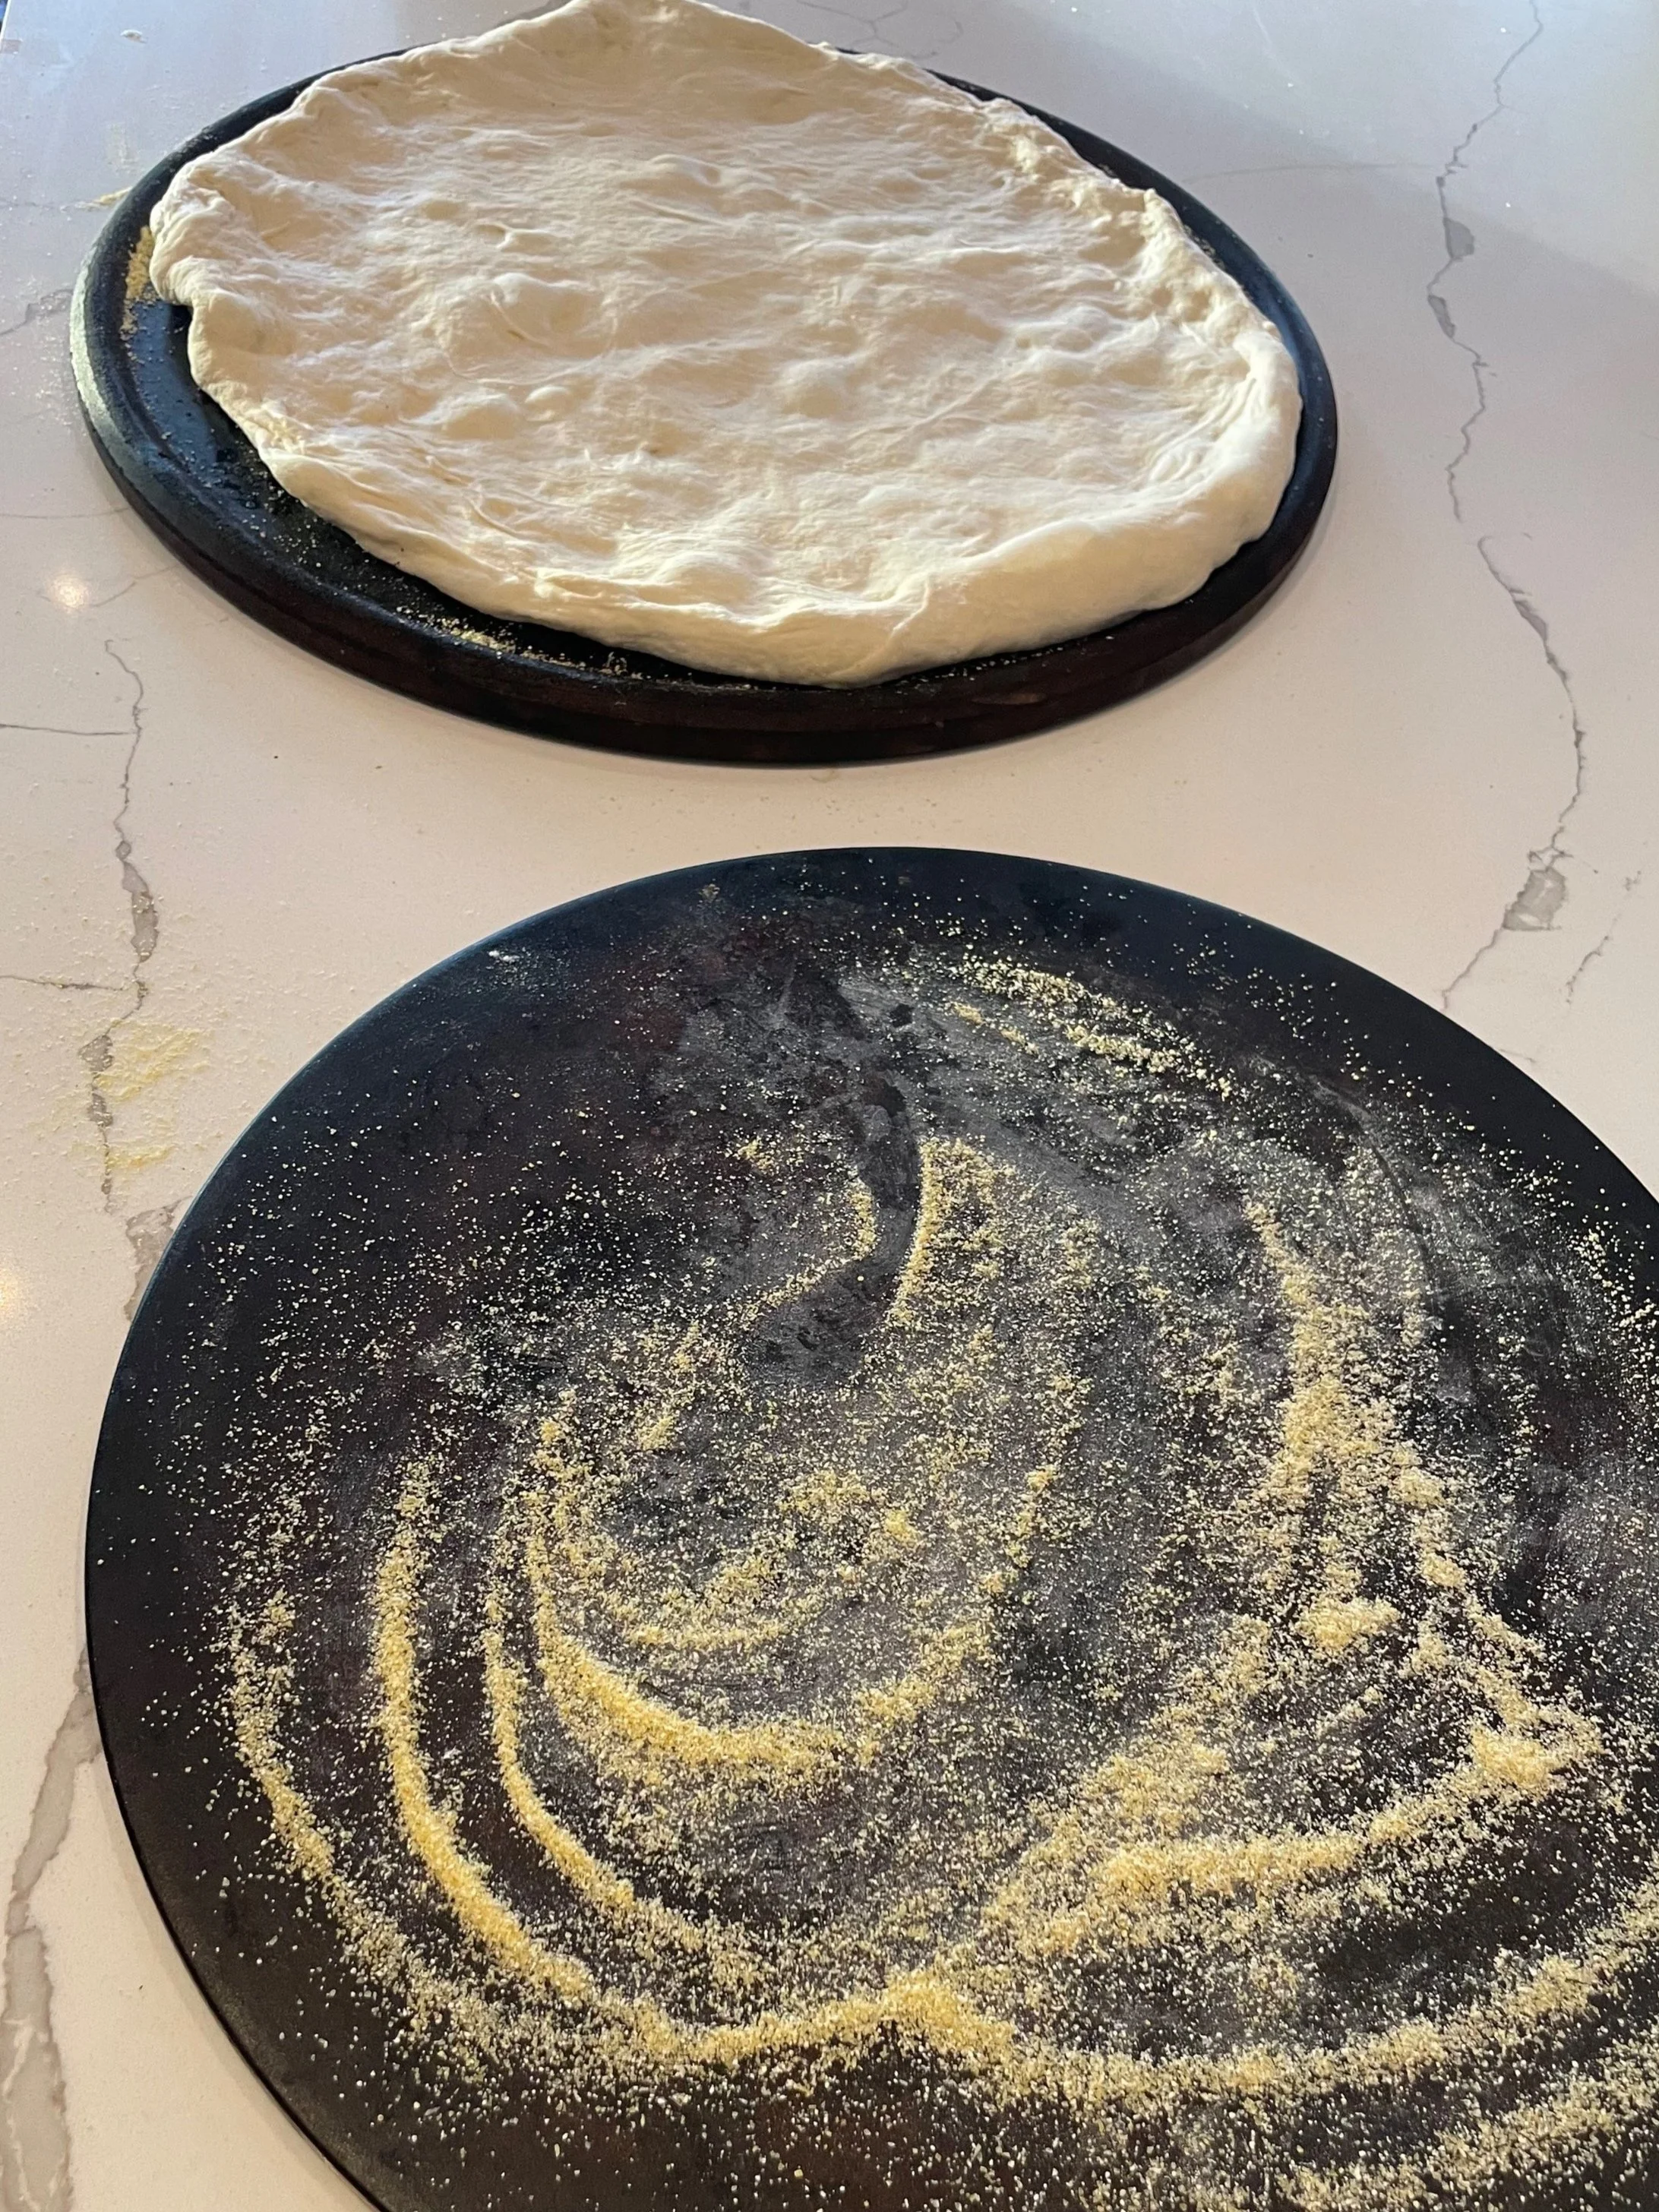
Prepping pizza pans or stones: dust whatever you plan on using with corn meal (to prevent sticking). To bake pizza, the following common kitchen items can be used: sheet pan, cast iron skillet, pizza stone.
Above: hand shaped pizza in the shape of the pizza stone
Below: pizza stone prepped with corn meal to prevent sticking.
Shaping the dough: now is the time to shape your dough, the classic throwing the pizza up in the air and making a perfect crust….or not. The pizza dough really isn’t fussy, from the divided ball of dough, you can stretch it with your hands into the shape of your cooking vessel, roll it with a rolling pin or other round vessels (some cups work well). The main goal is just to have a nice even crust and shape.
Optional, let the dough rise again: This is completely optional, for a thicker crust, let the dough rise again. If you like thin crust go ahead and move to the next step. You can do an additional rise for as long as you want from not at all to over an hour. For example, last week, I got to this step, covered the dough with a towel, left the house to go pick up groceries and then finished making the pizza when we got back home. We live a ways from town, so this trip took over an hour.
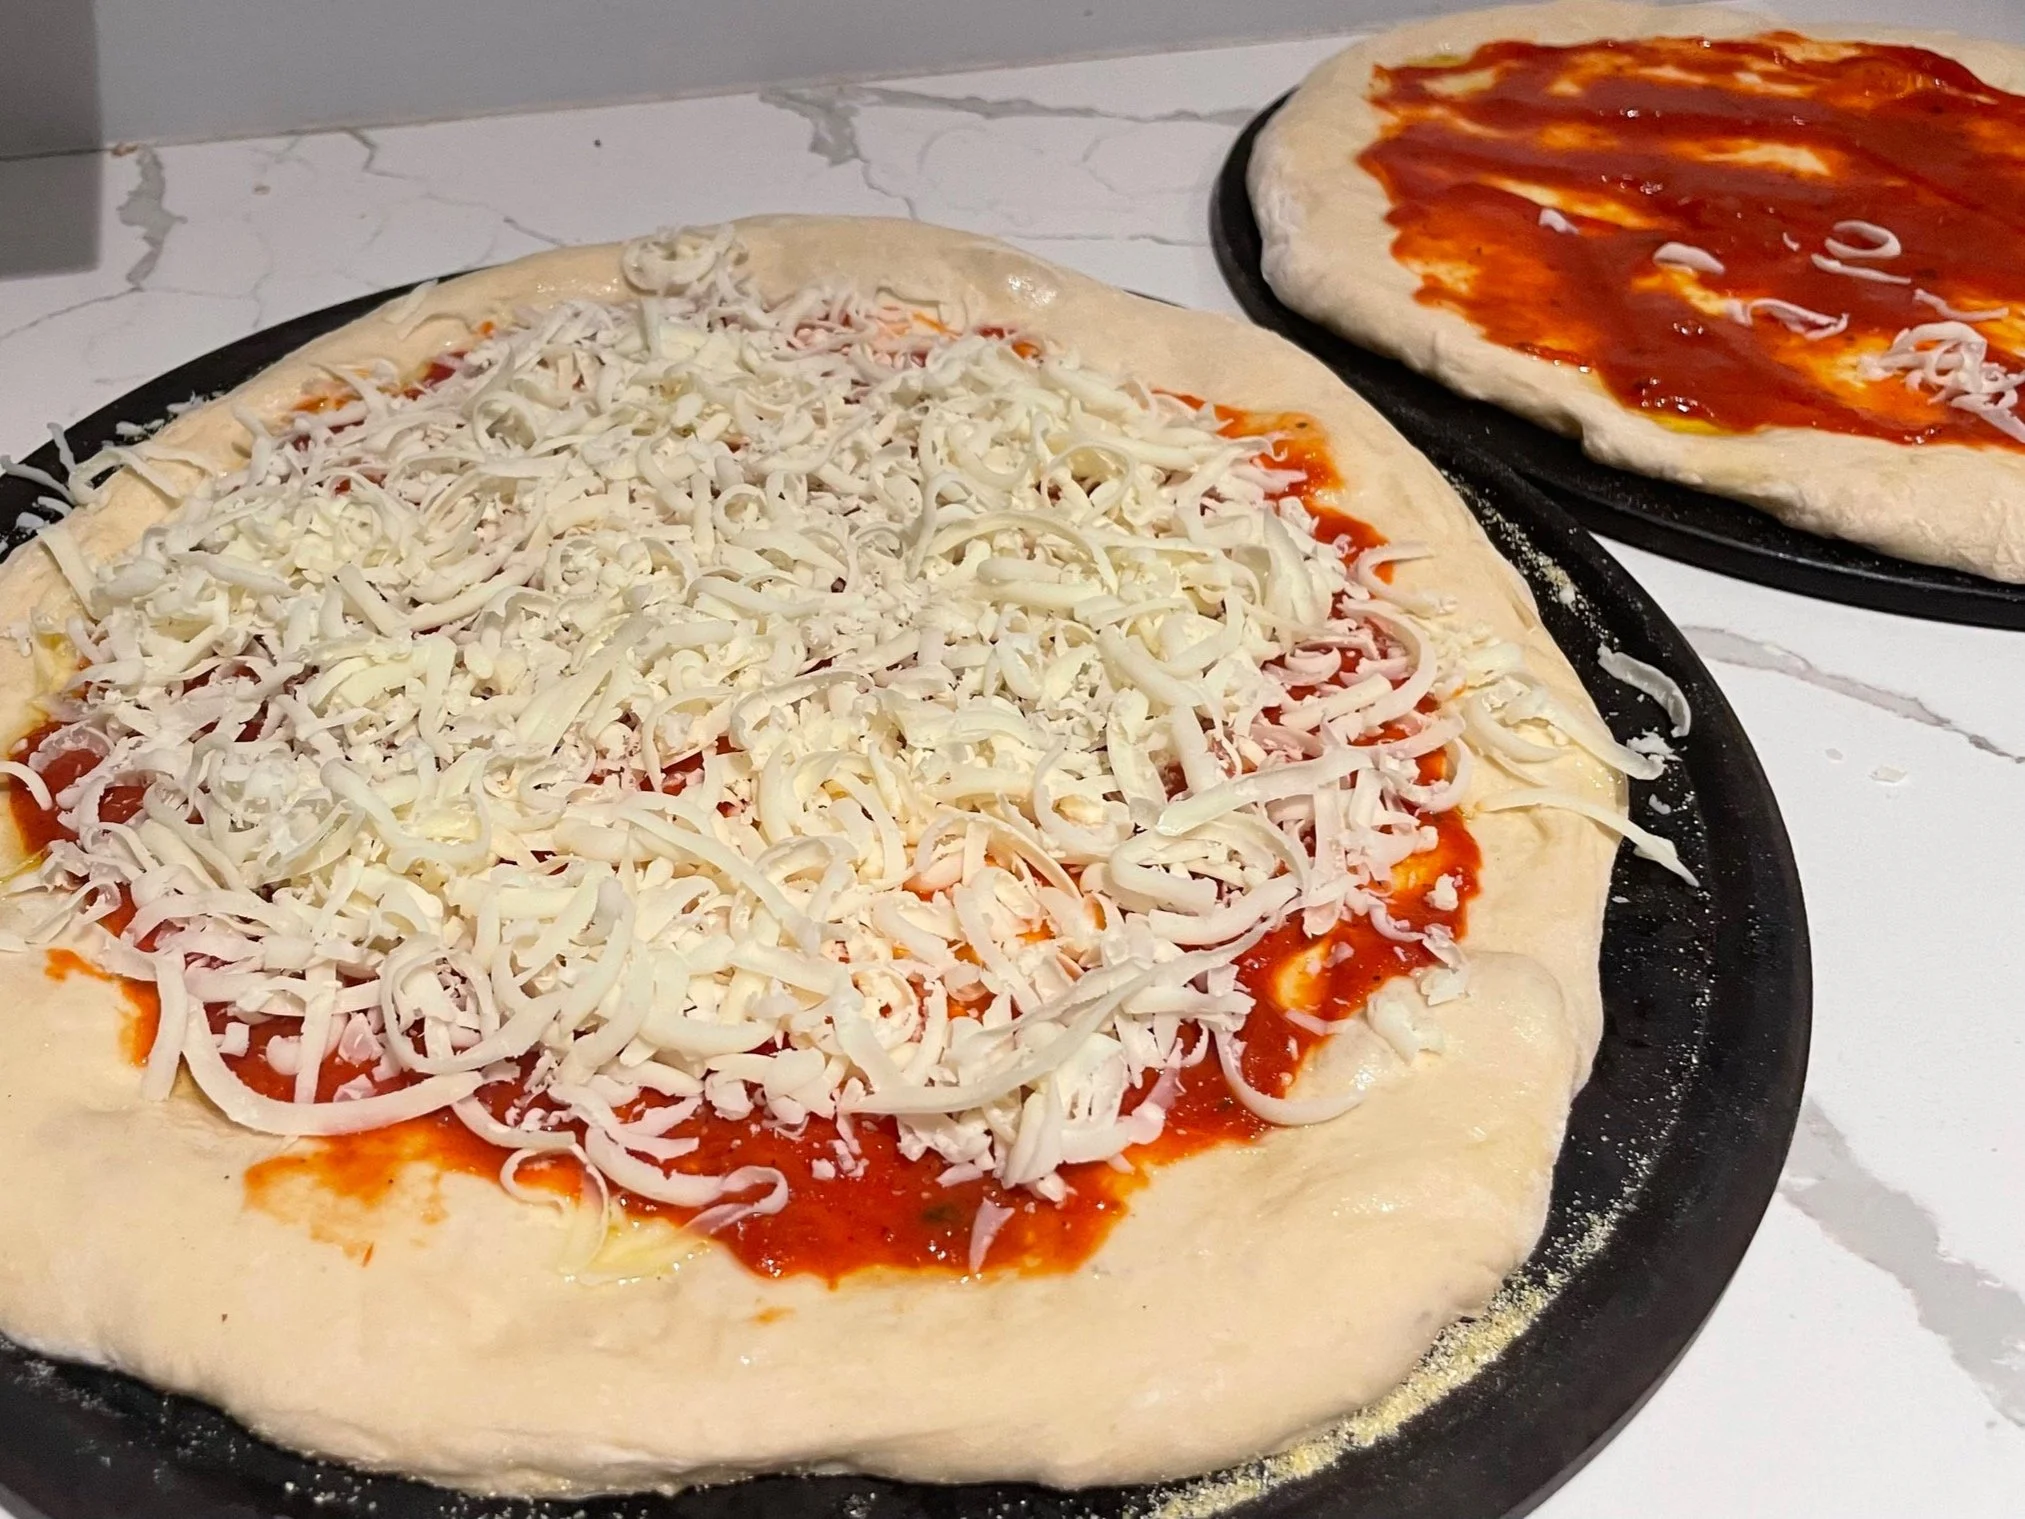
Topping your pizza: Now for the fun part, topping your pizza! First, drizzle some olive oil on your crust (this is optional, but prevents the sauce from soaking in and causing a mushy crust). Next add your sauce. For a classic pizza this would be marinara, but you can mix it up with just about any sauce you like. Get creative! BBQ is one of my personal favorites. After the sauce, add your desired amount of cheese and toppings.
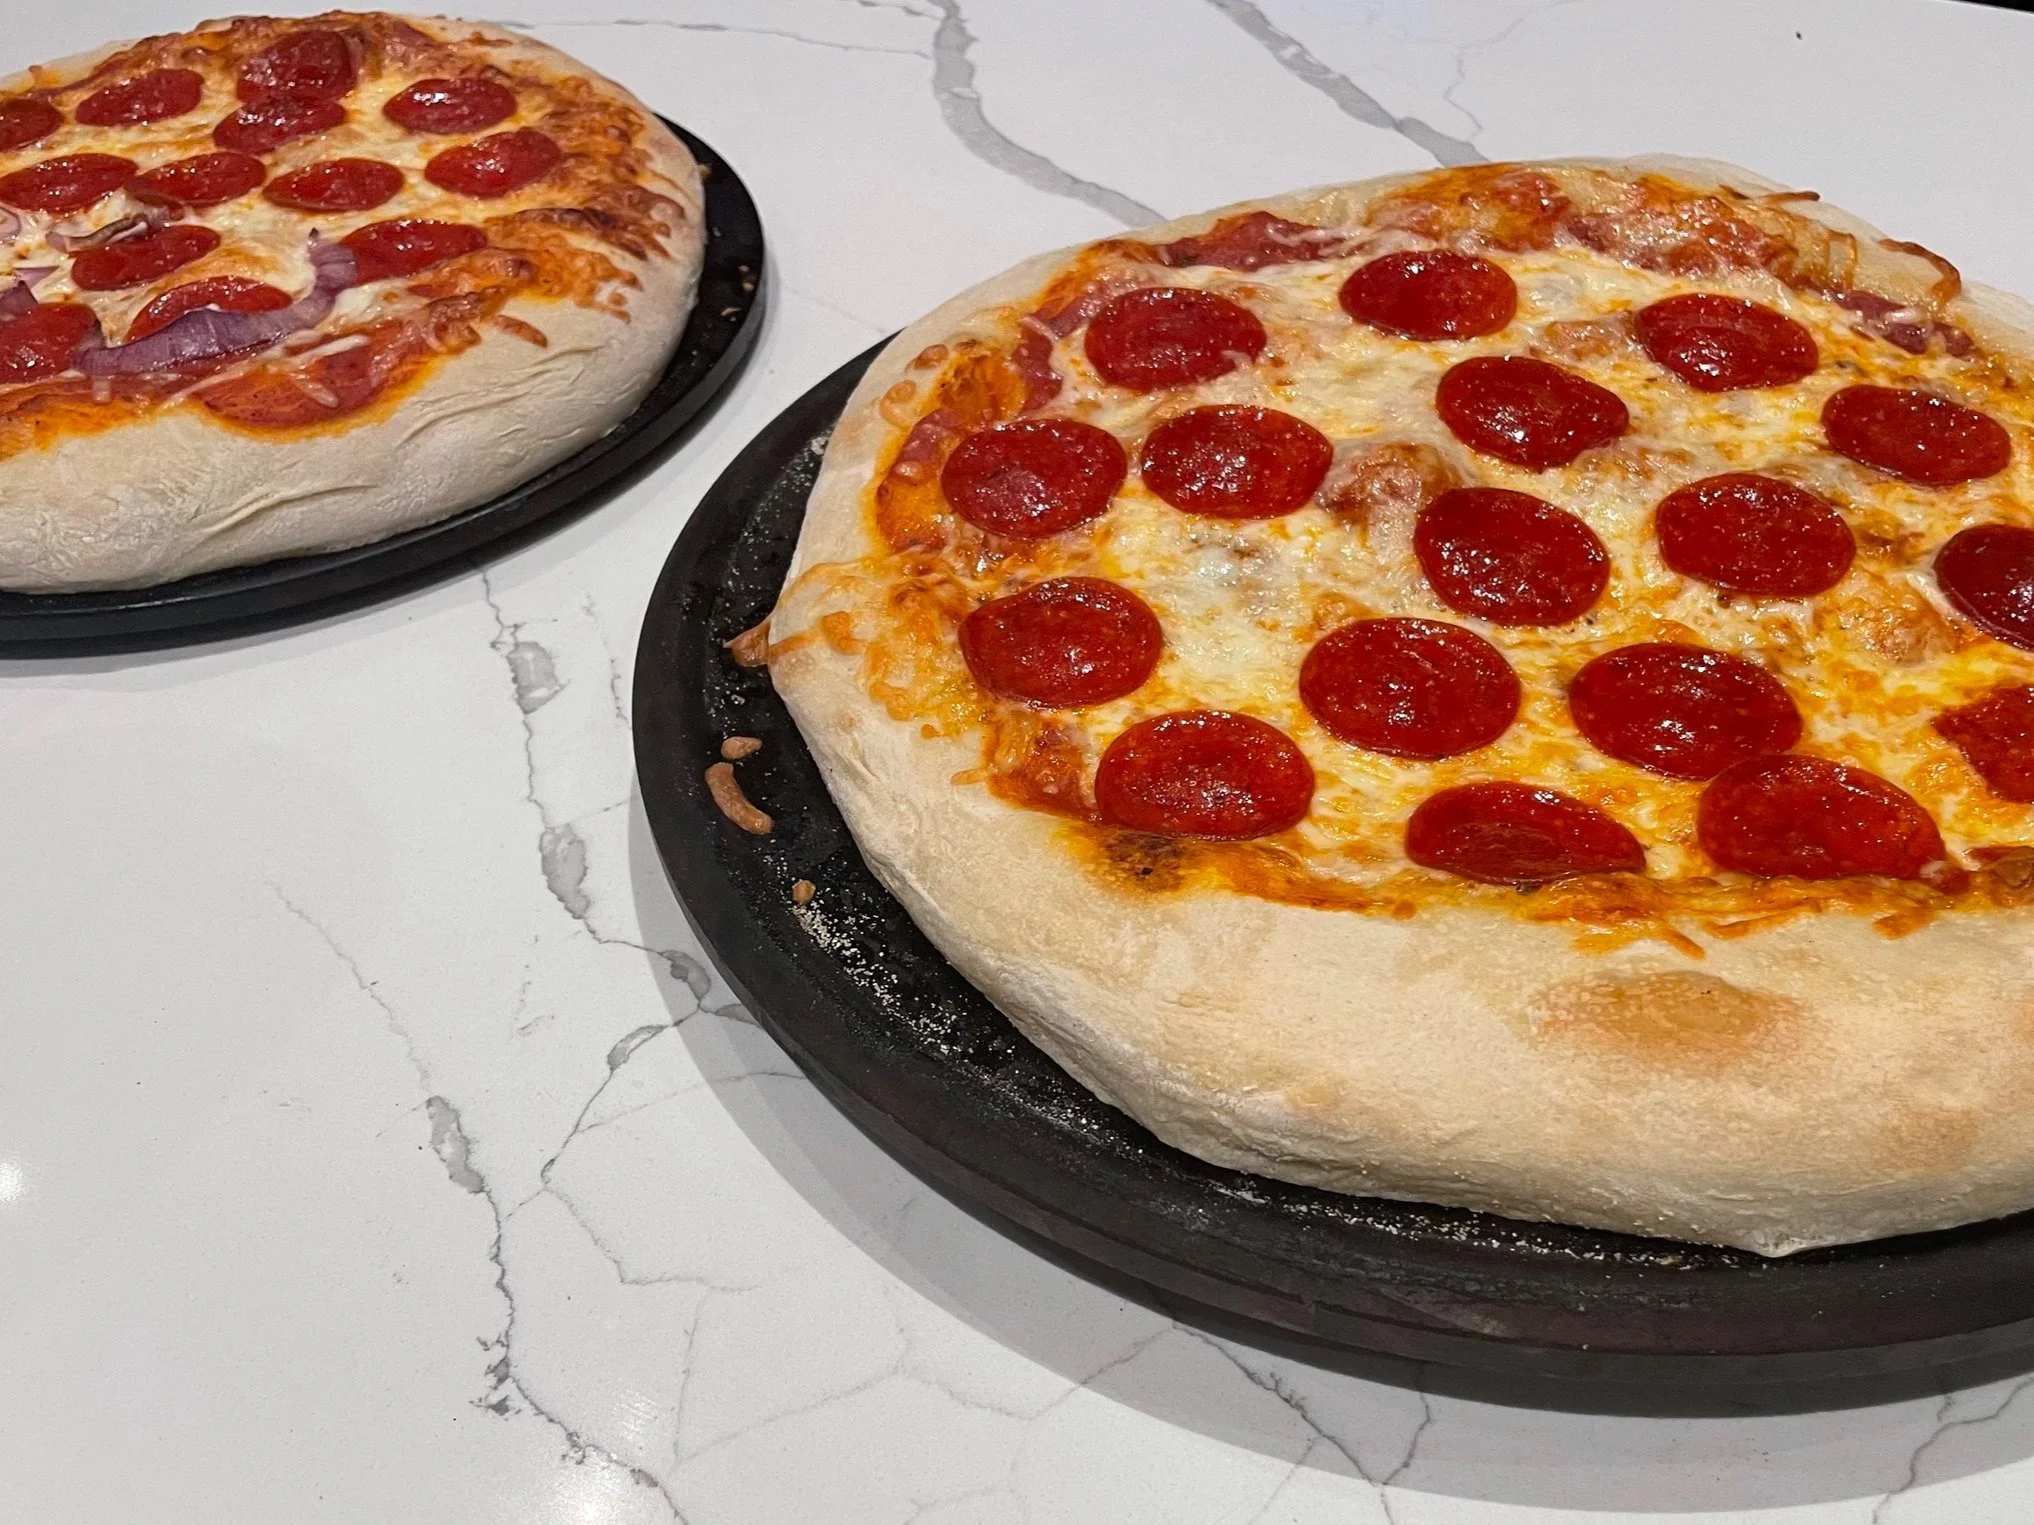
Baking your pizza: Bake at 500 degrees for ~12 minutes*
*Time: Your pizza will bake more or less quickly depending on a variety of factors: is your pan pre-heated, is it made of something heavy like a stone/cast iron or a thinner baking sheet? This will take some experimentation. I personally stretch my dough and top it WHILE it’s on the pizza stone. Since the stone isn’t preheated, it does take a little longer to bake and the bottom on the crust isn’t as crispy as it would be with a preheated pan.
*Temperature: Again this is something you can experiment with. Generally speaking, the hotter your oven, the better. However, for various reasons sometimes that’s not feasible (for example, one of my pans if heated greater than 475 degrees it smokes horribly and sets off the fire alarm 🚨 ). Sometimes these factors just are what they are and you have to roll with them. Experiment with time and temperature starting with the recommended time and temperature above making adjustments as needed.
FINALLY you have a baked ready to eat pizza. While these steps do take a long time from start to finish, the actual hands on time isn’t hateful. Who knows, you may have a new Friday night tradition!
